Non-destructive testing of complex 3D geometry opens the door to high-quality mass production
In 2021, we received an SBIR contract from the National Institute of Standards and Technology (NIST) for the development of a contact-free optical metrology method to standardize the manufacturing of mechanical metamaterials. The data is entrancing, but learning about NIST’s history with setting standards is equally as fascinating.
Outcomes:
High throughput contact-free optical metrology system for QA/QC of manufactured metamaterials
Technology development:
Polariscope and specialized software
Funding:
NIST SBIR
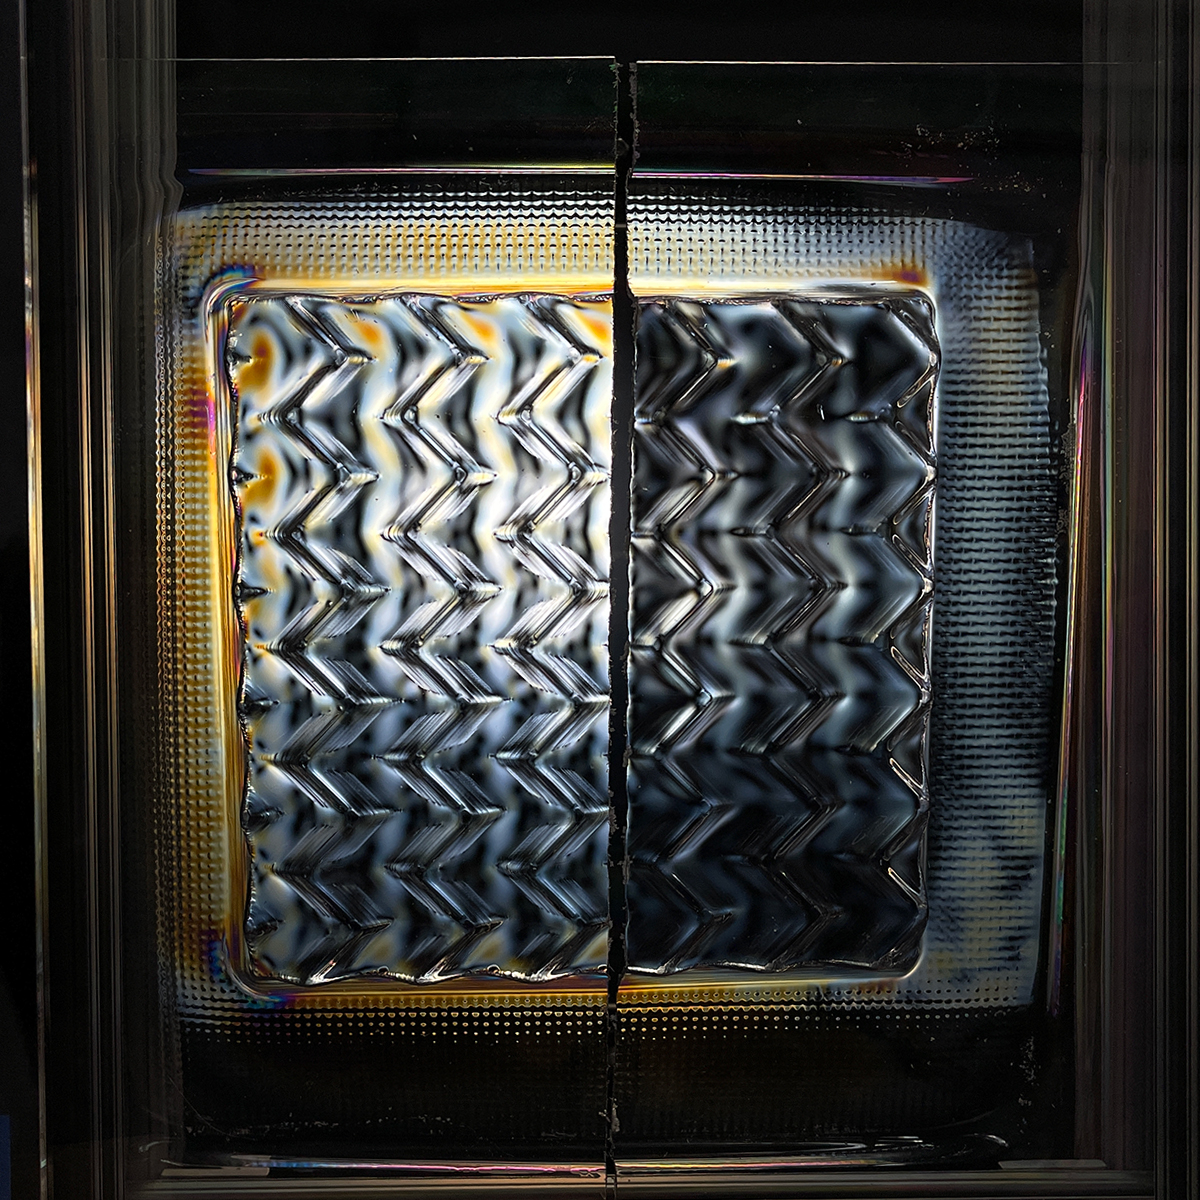
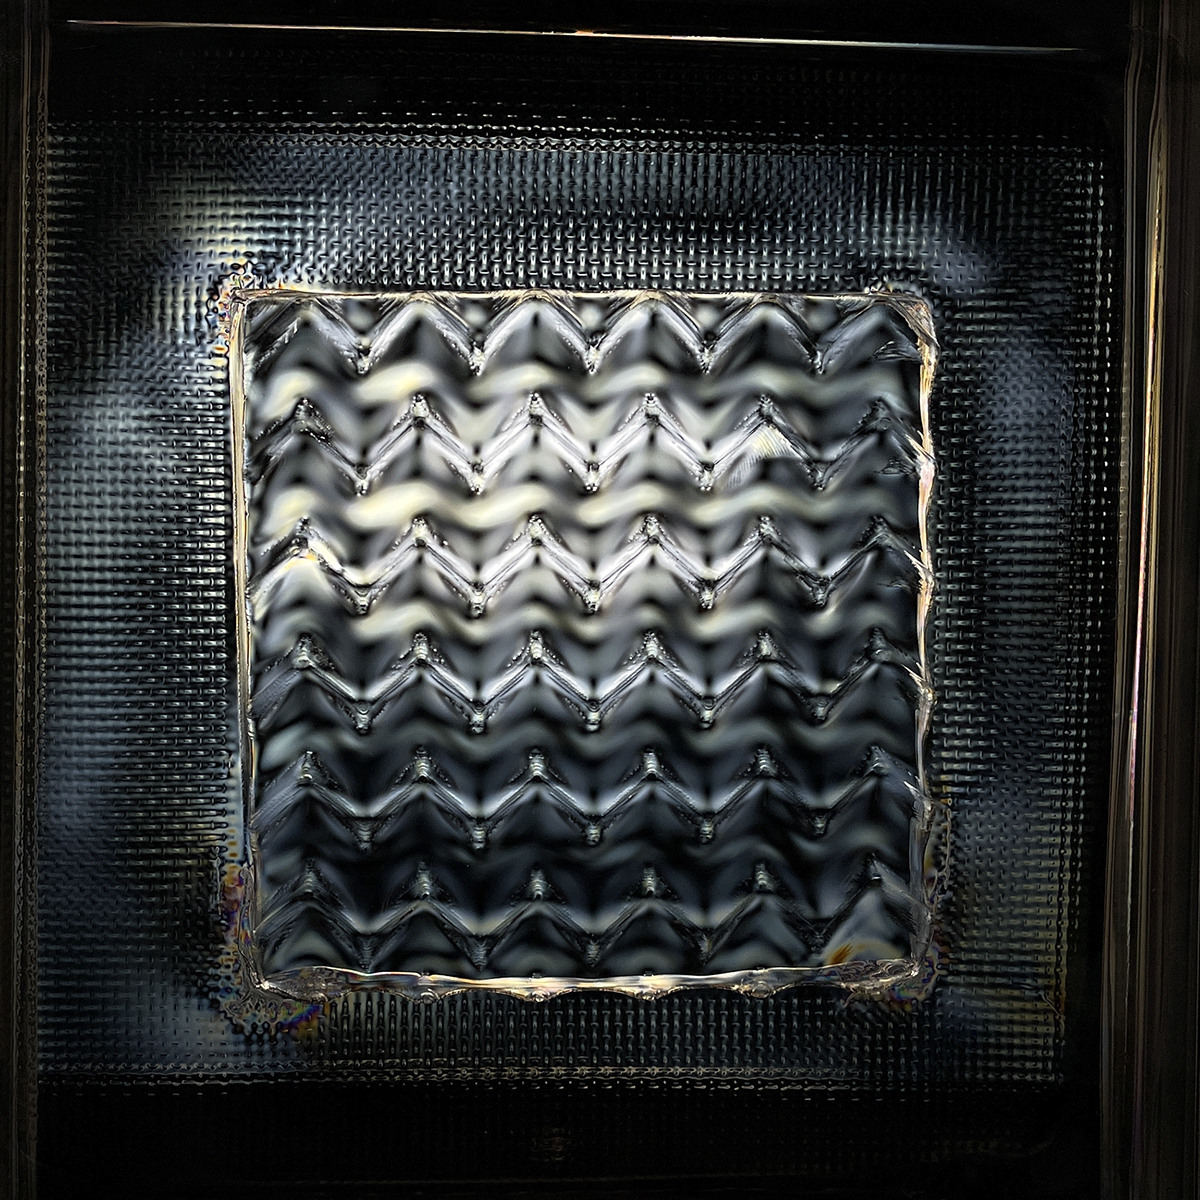
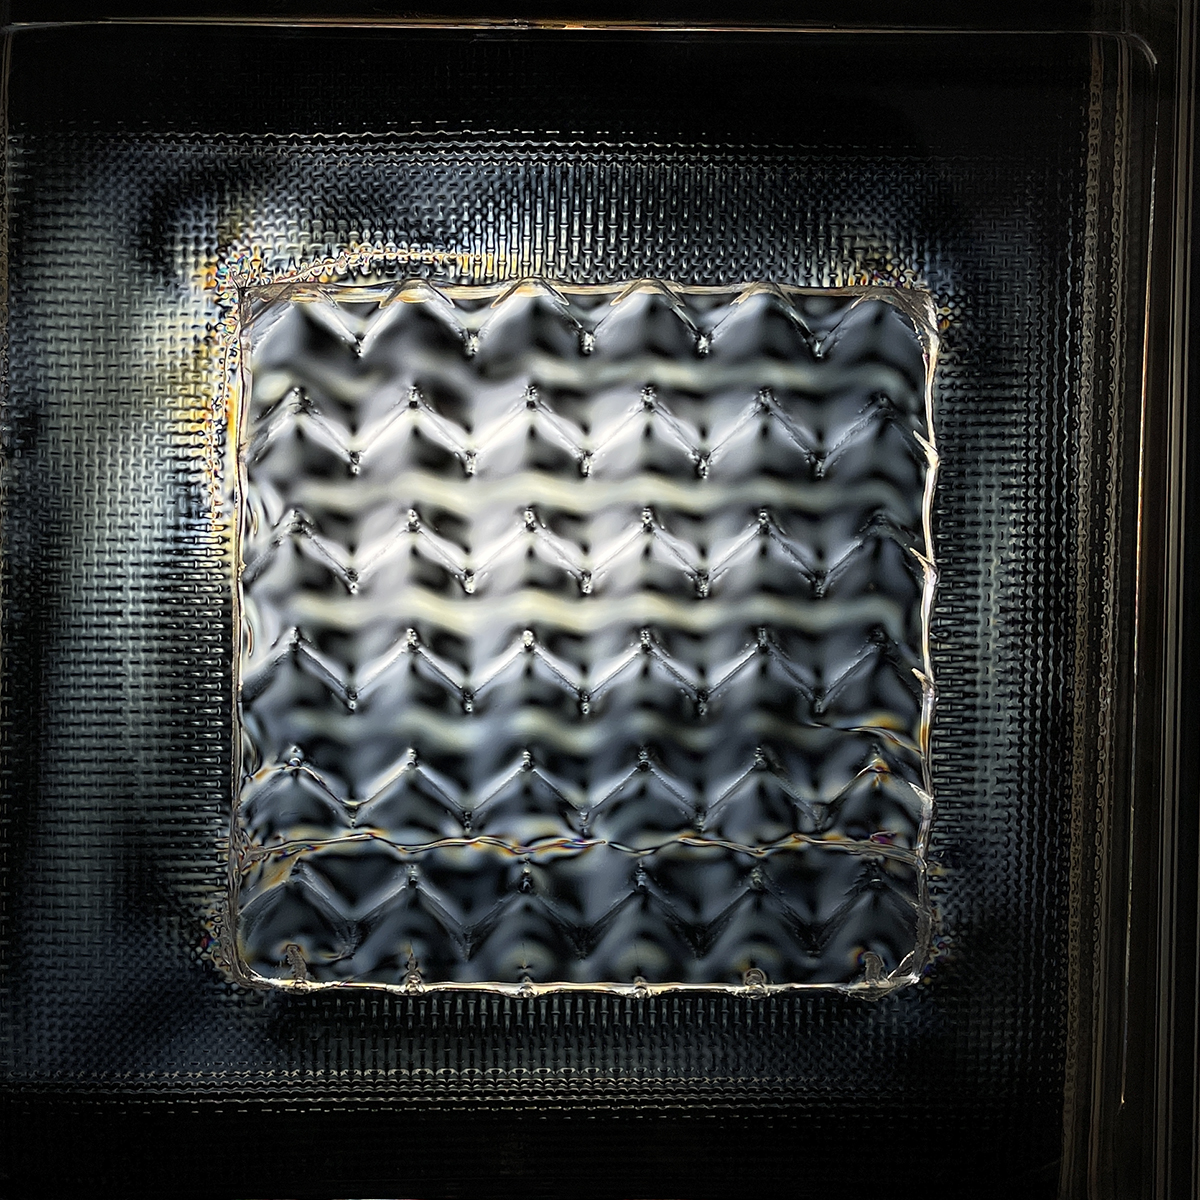
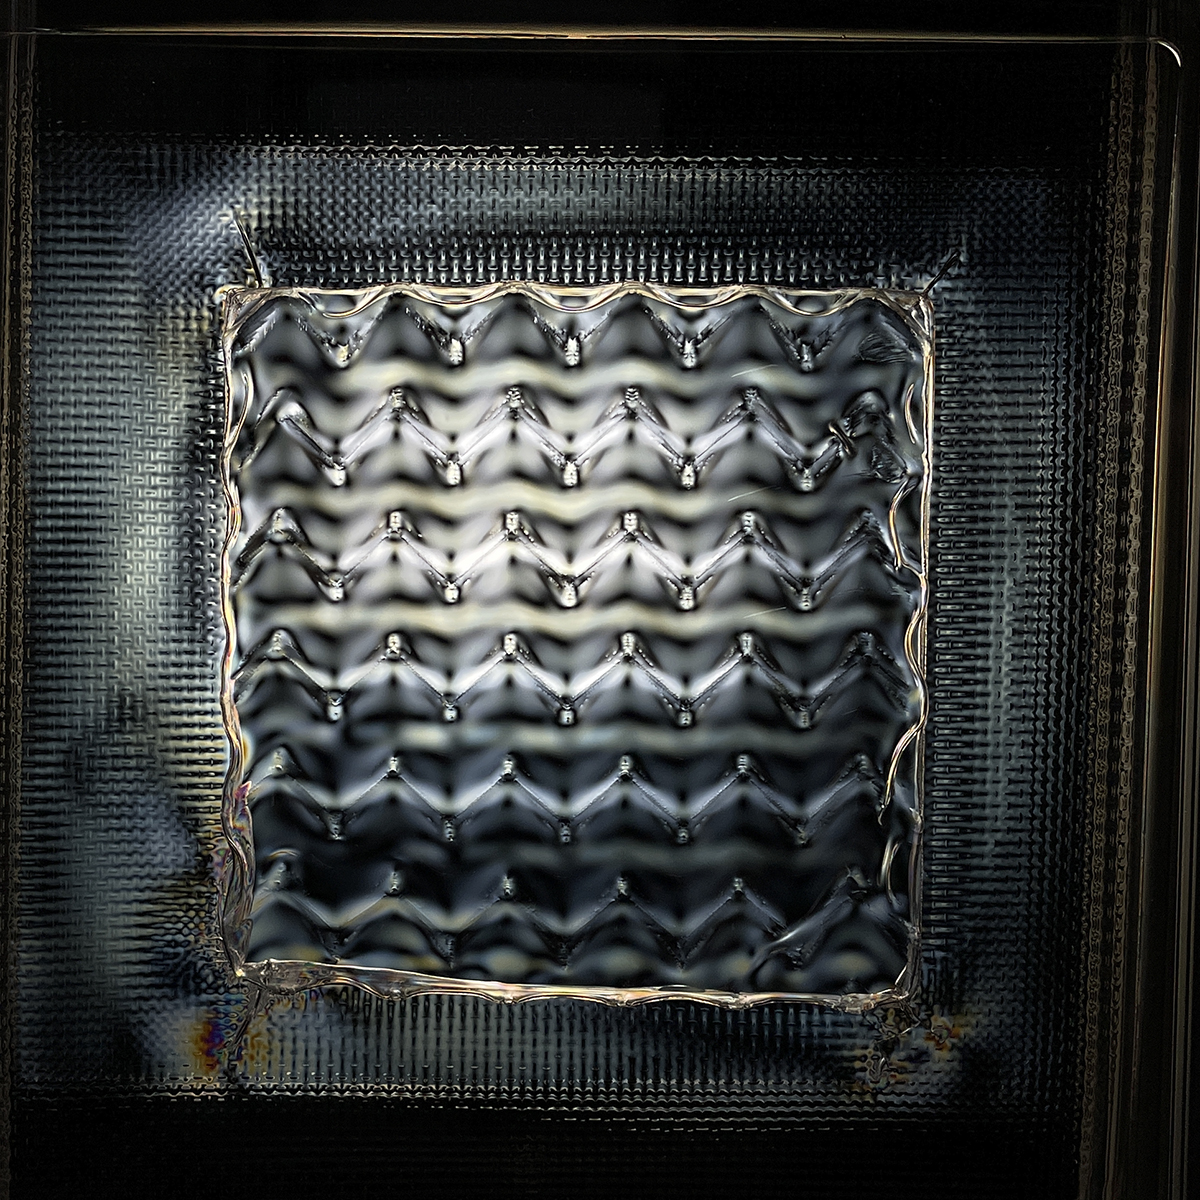
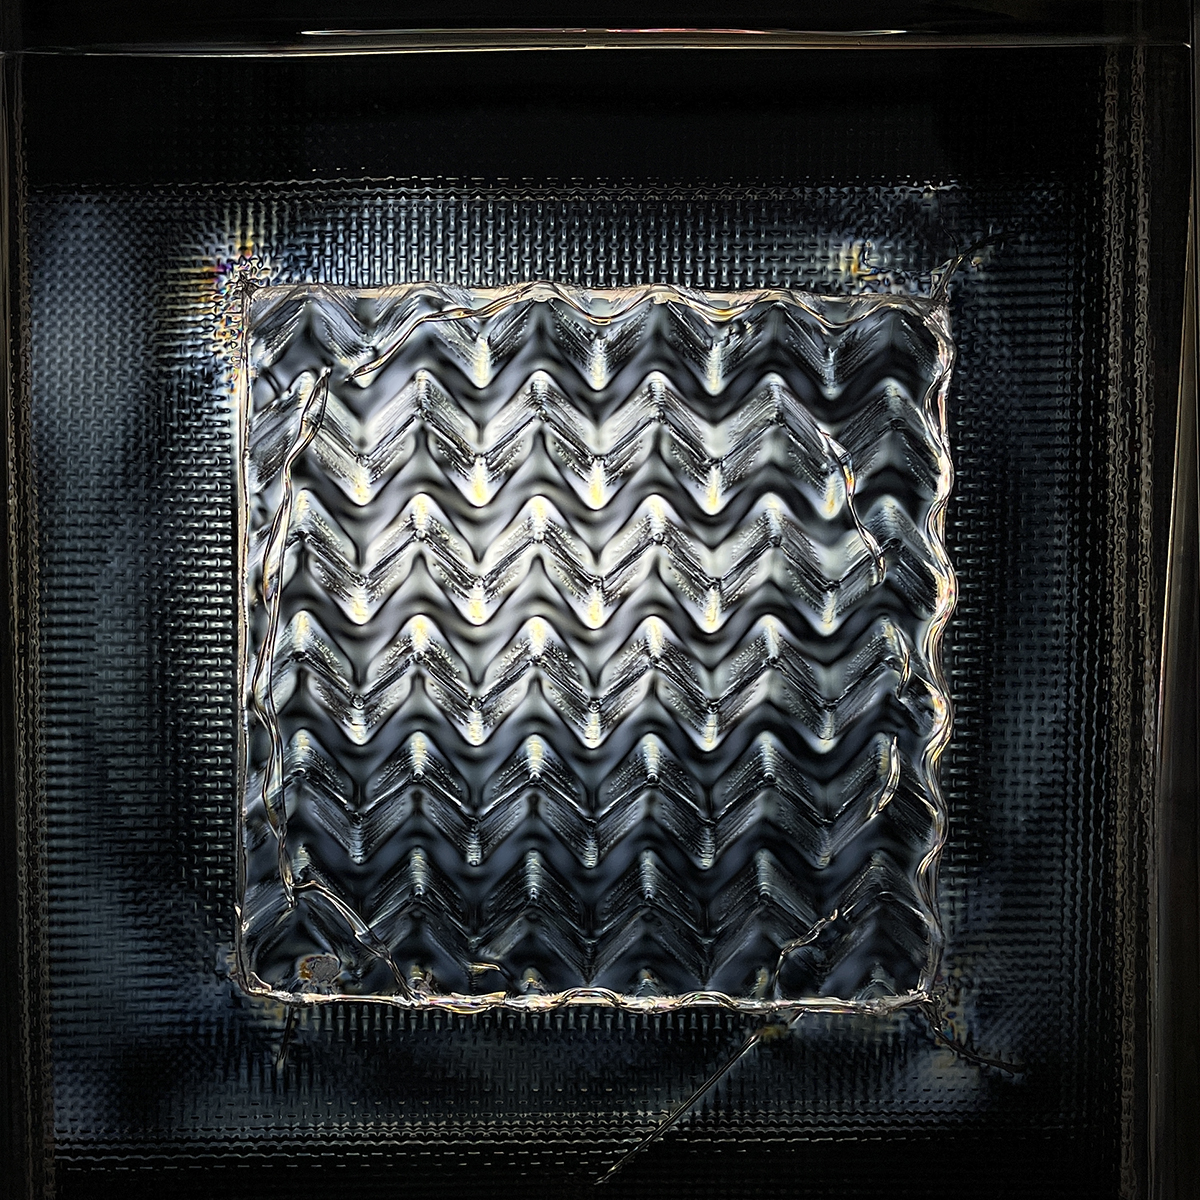
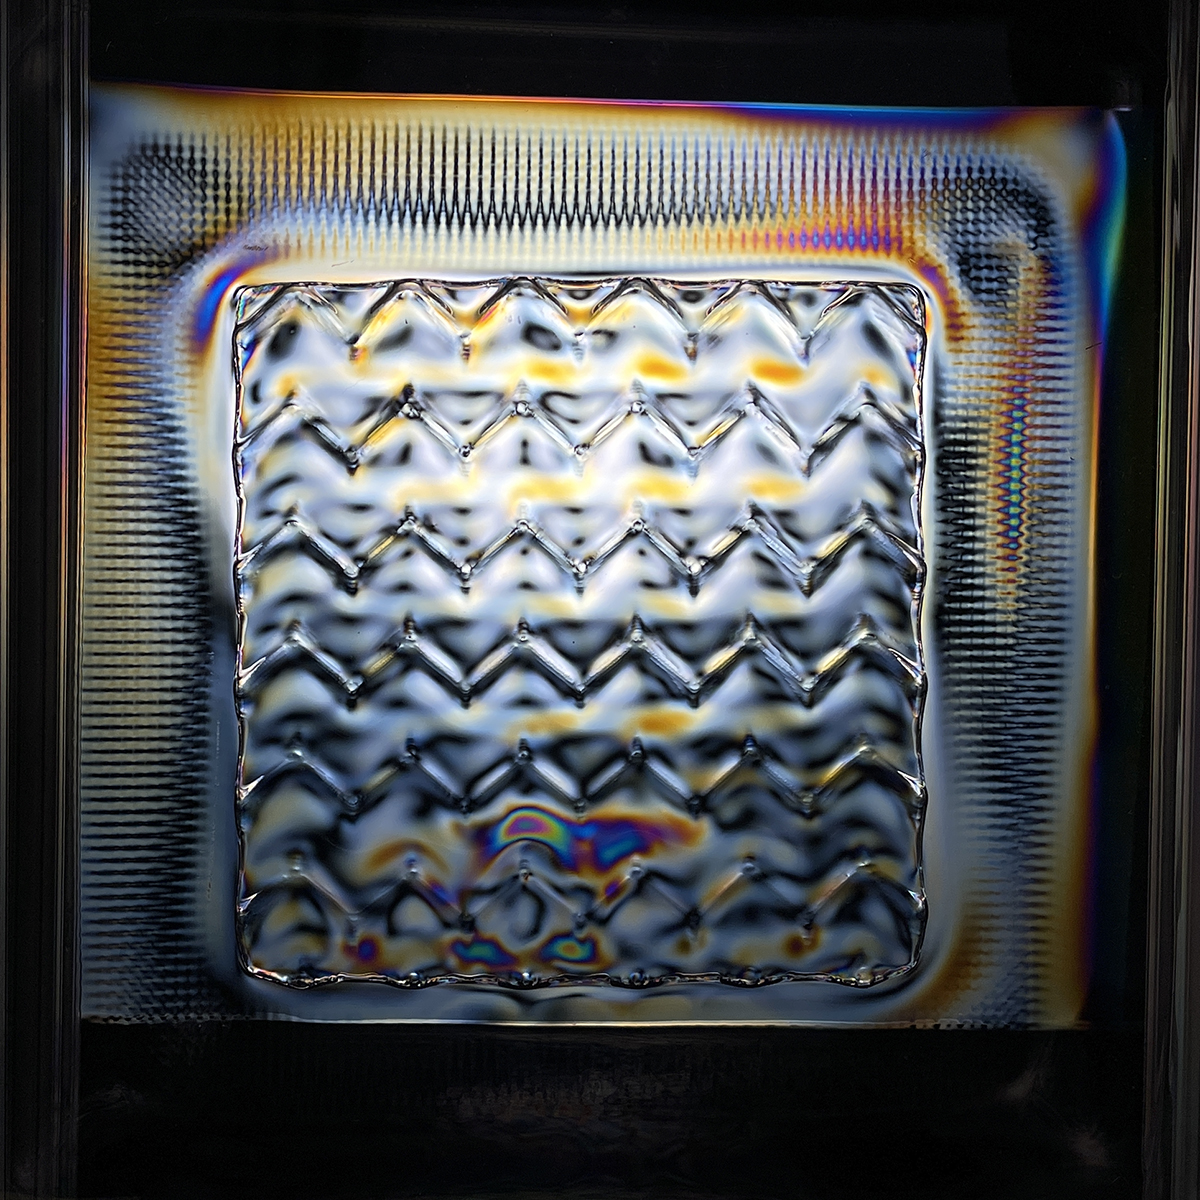
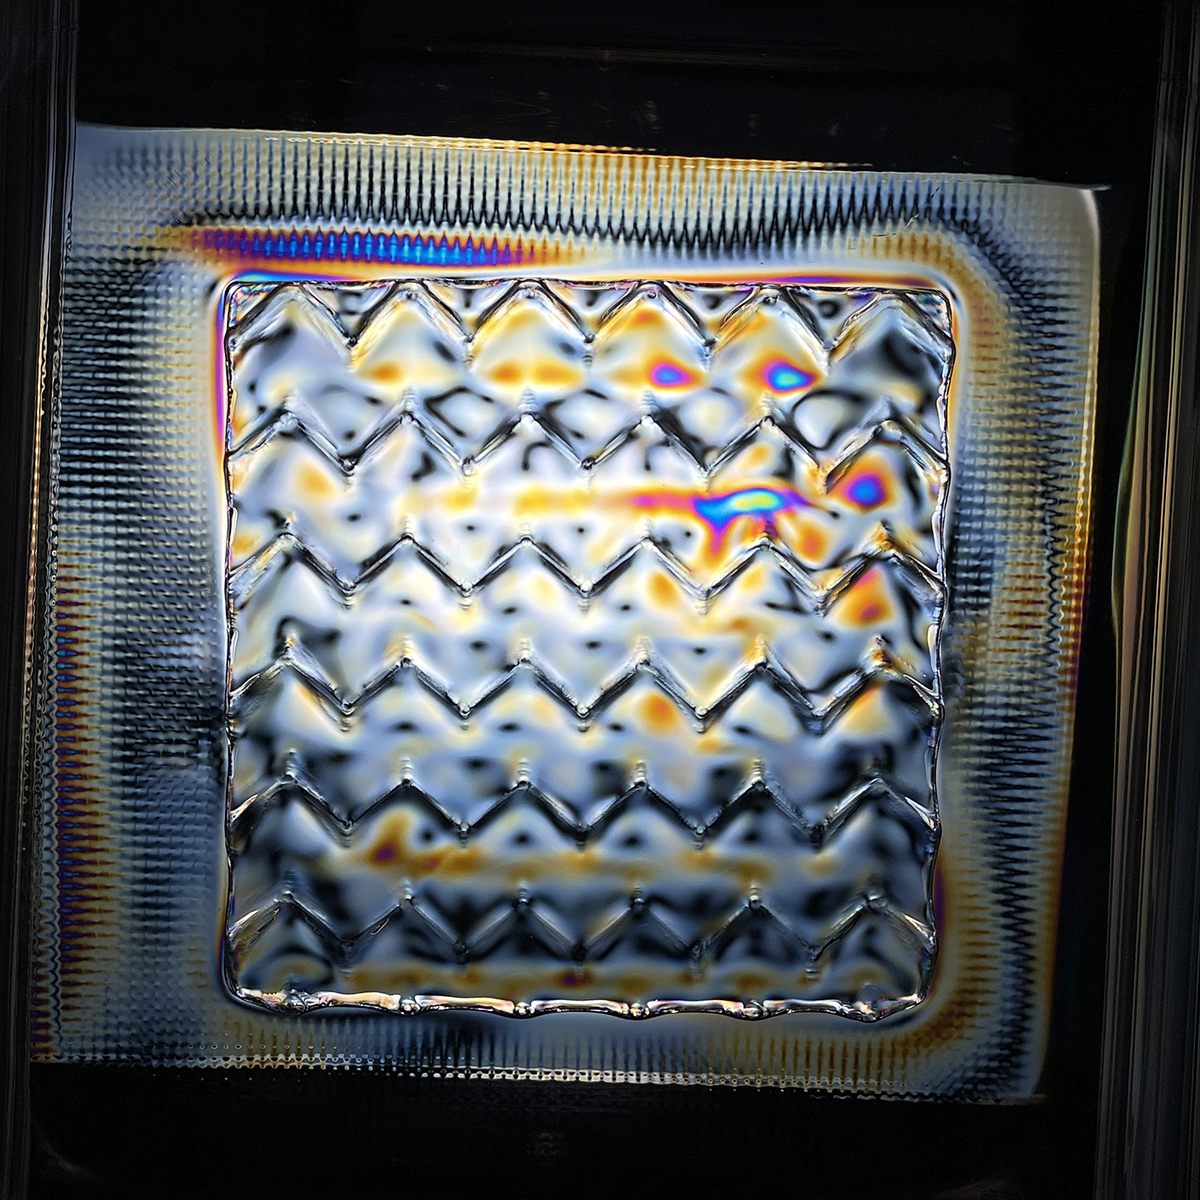
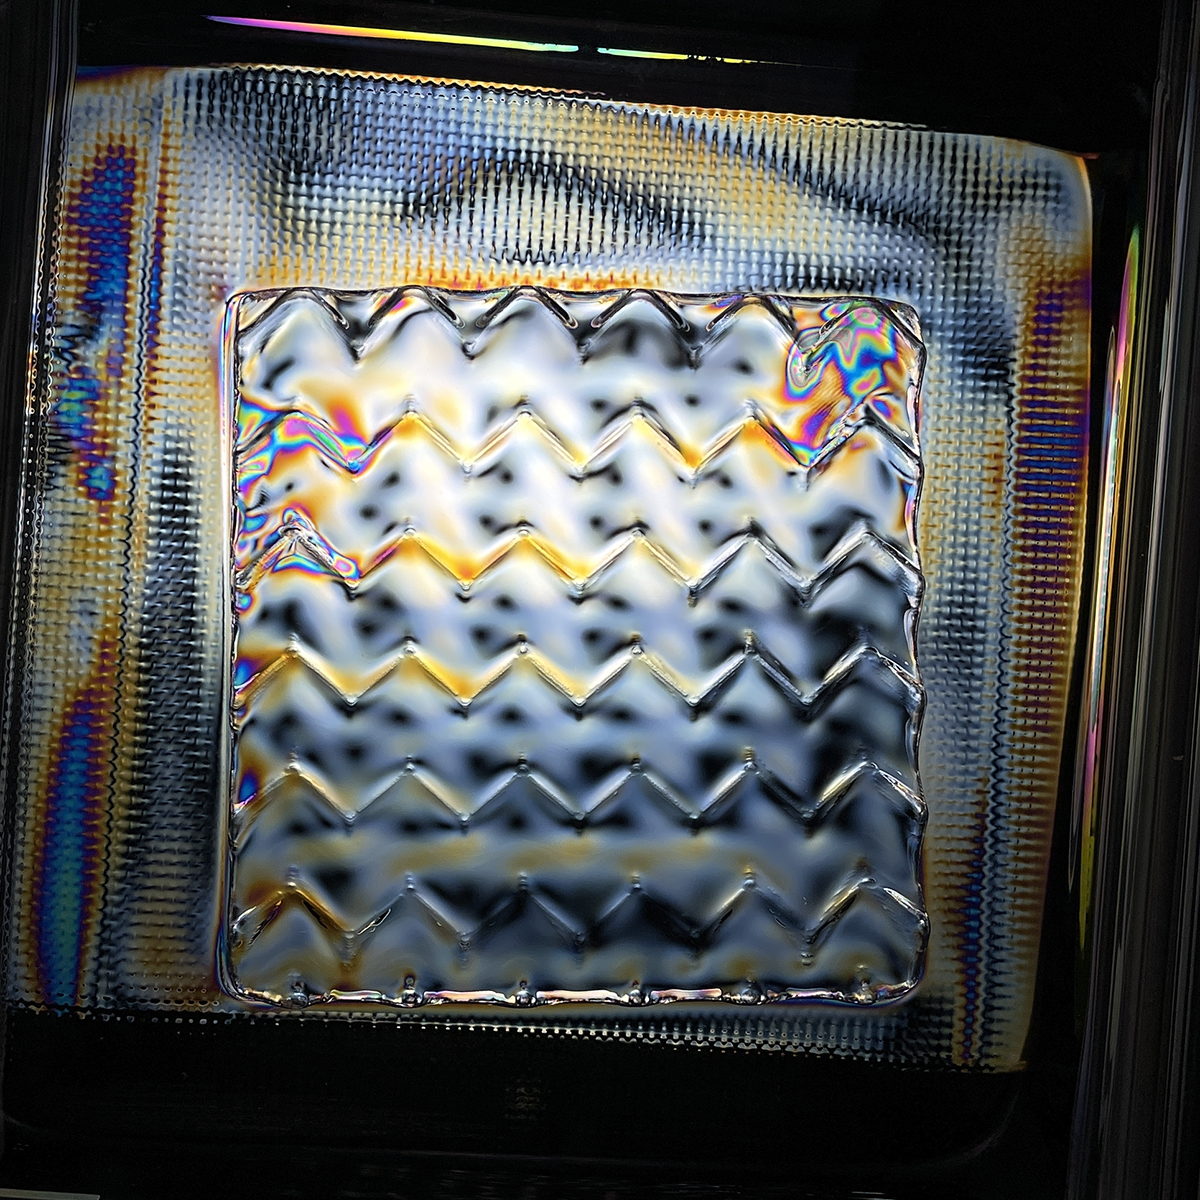
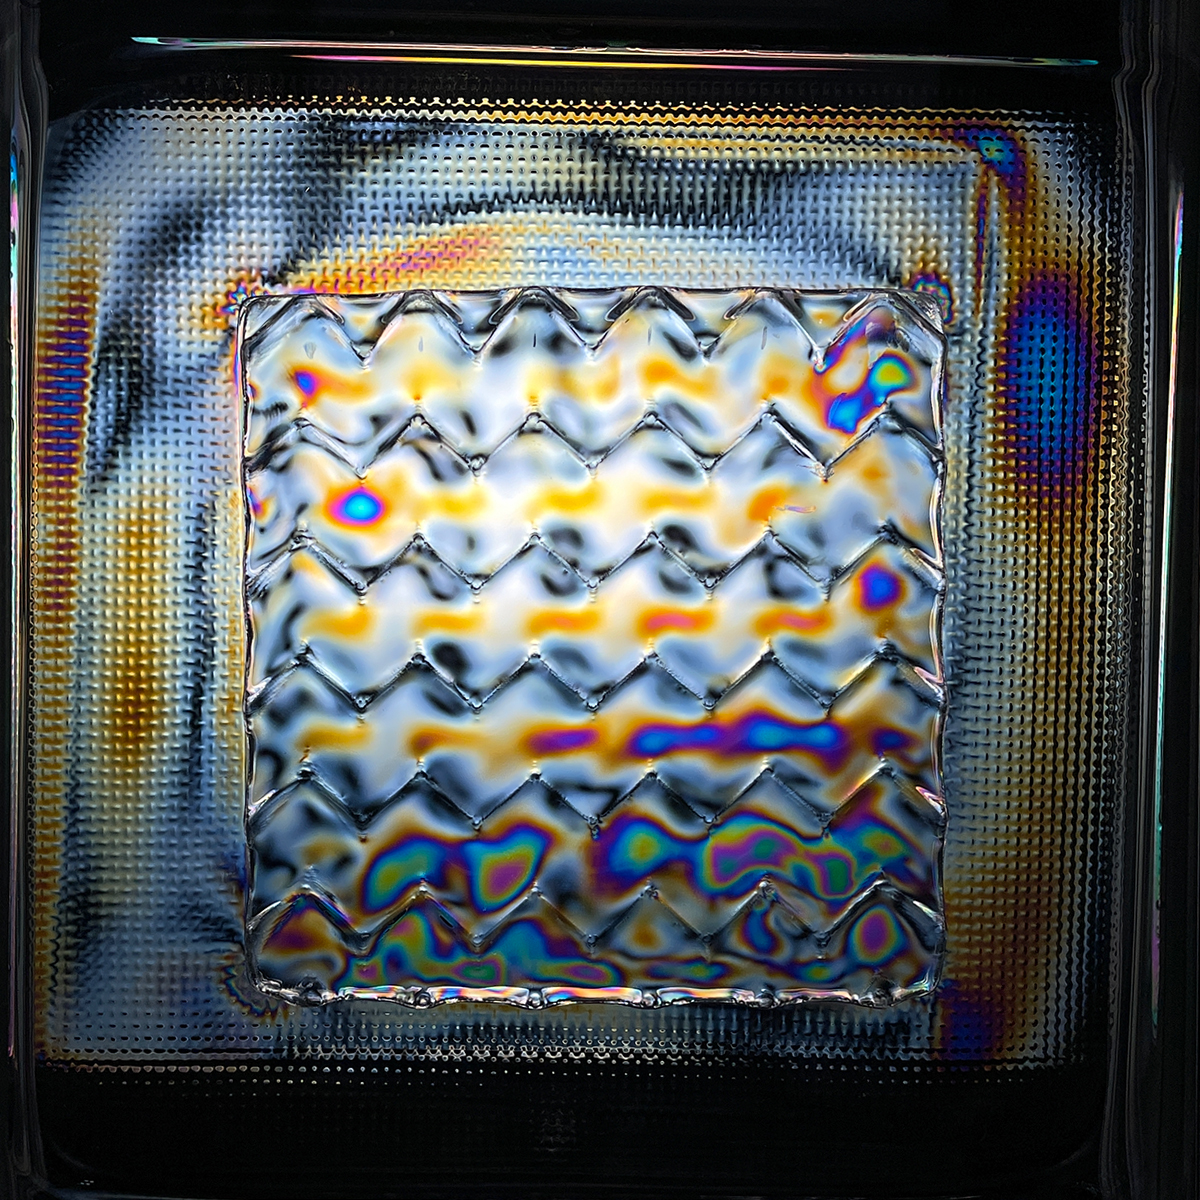
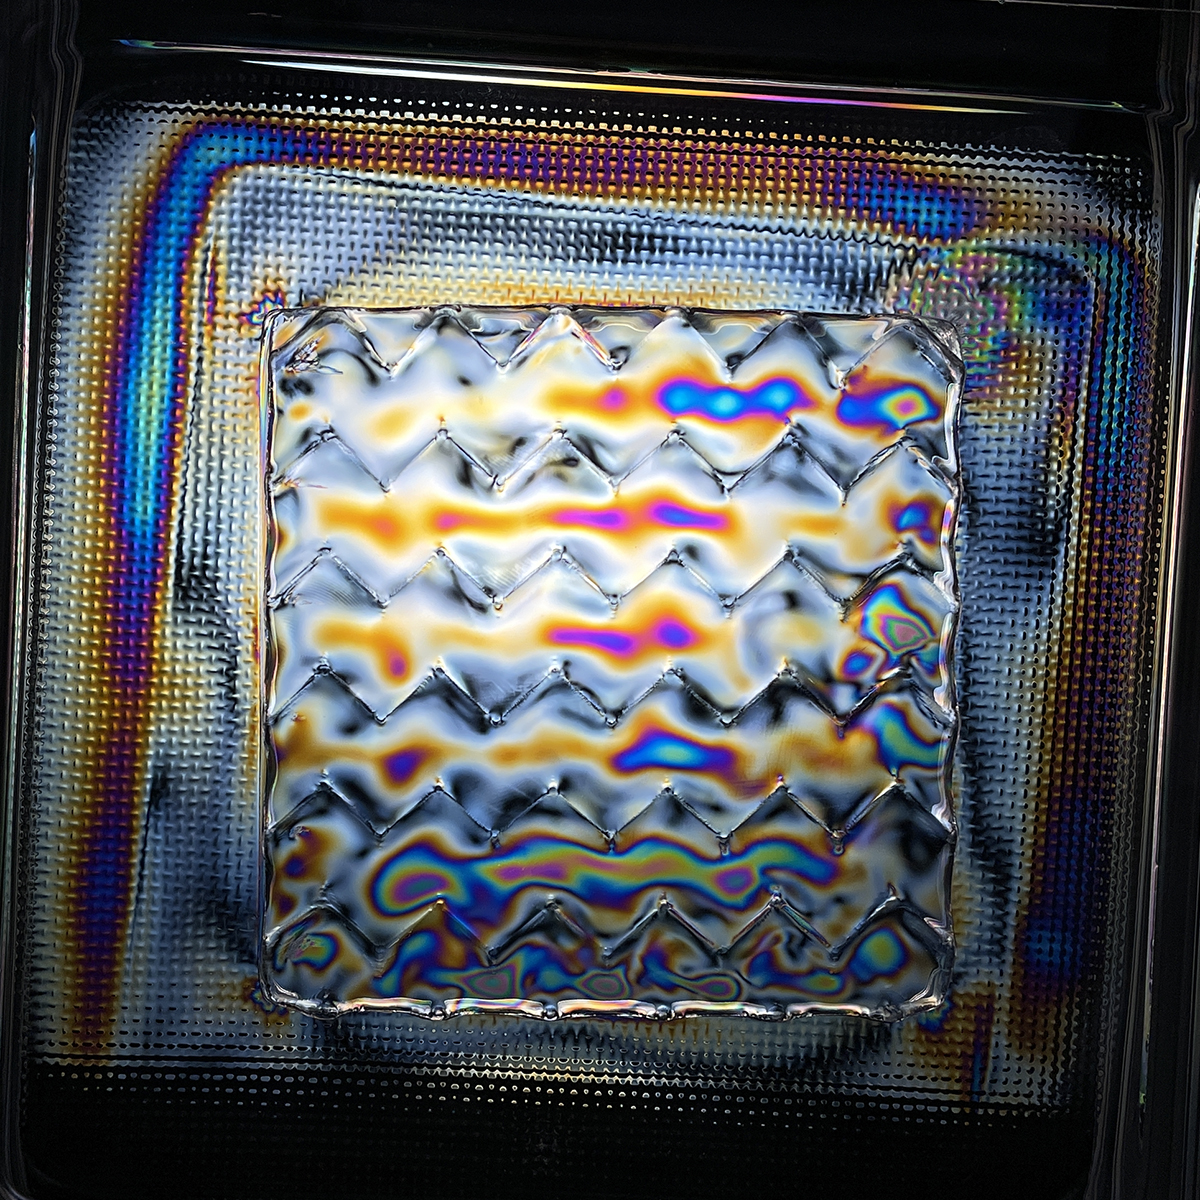
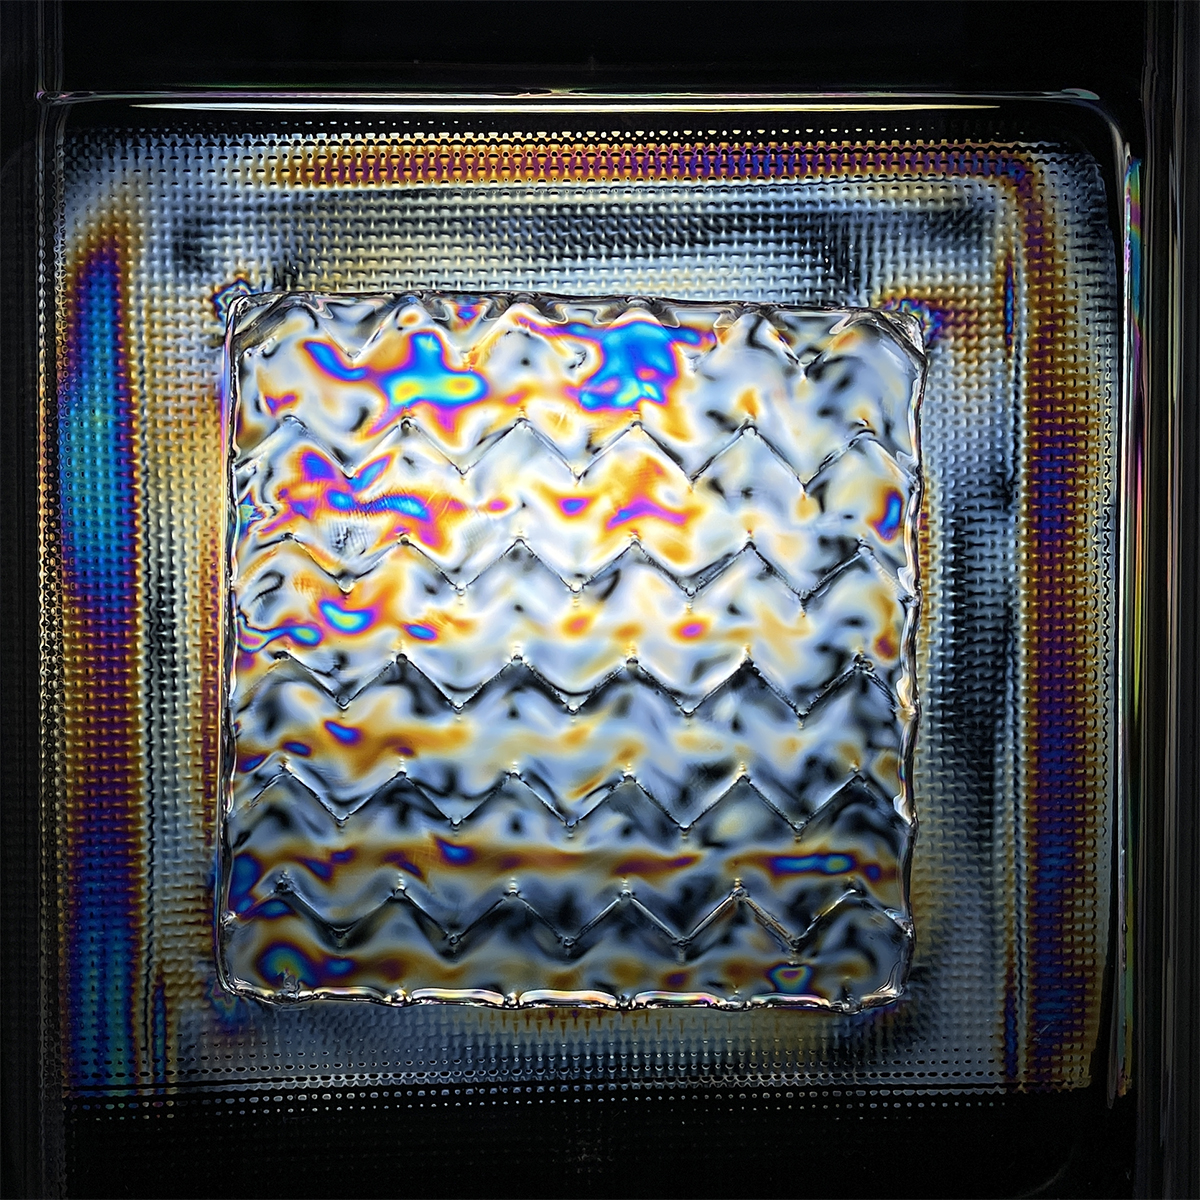
Gallery: Birefringence effect
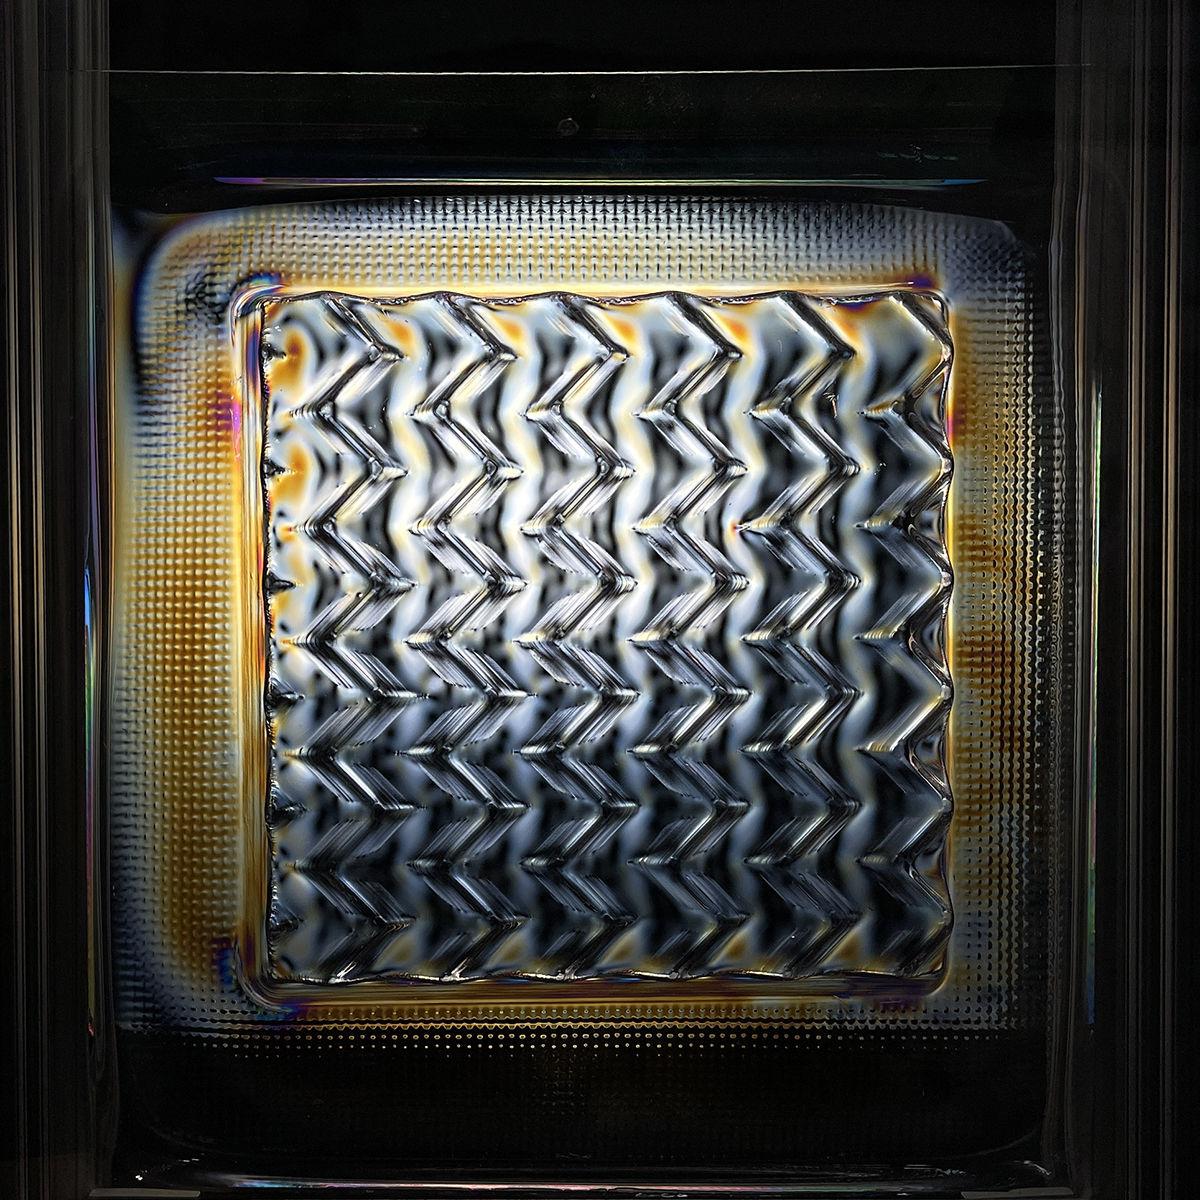
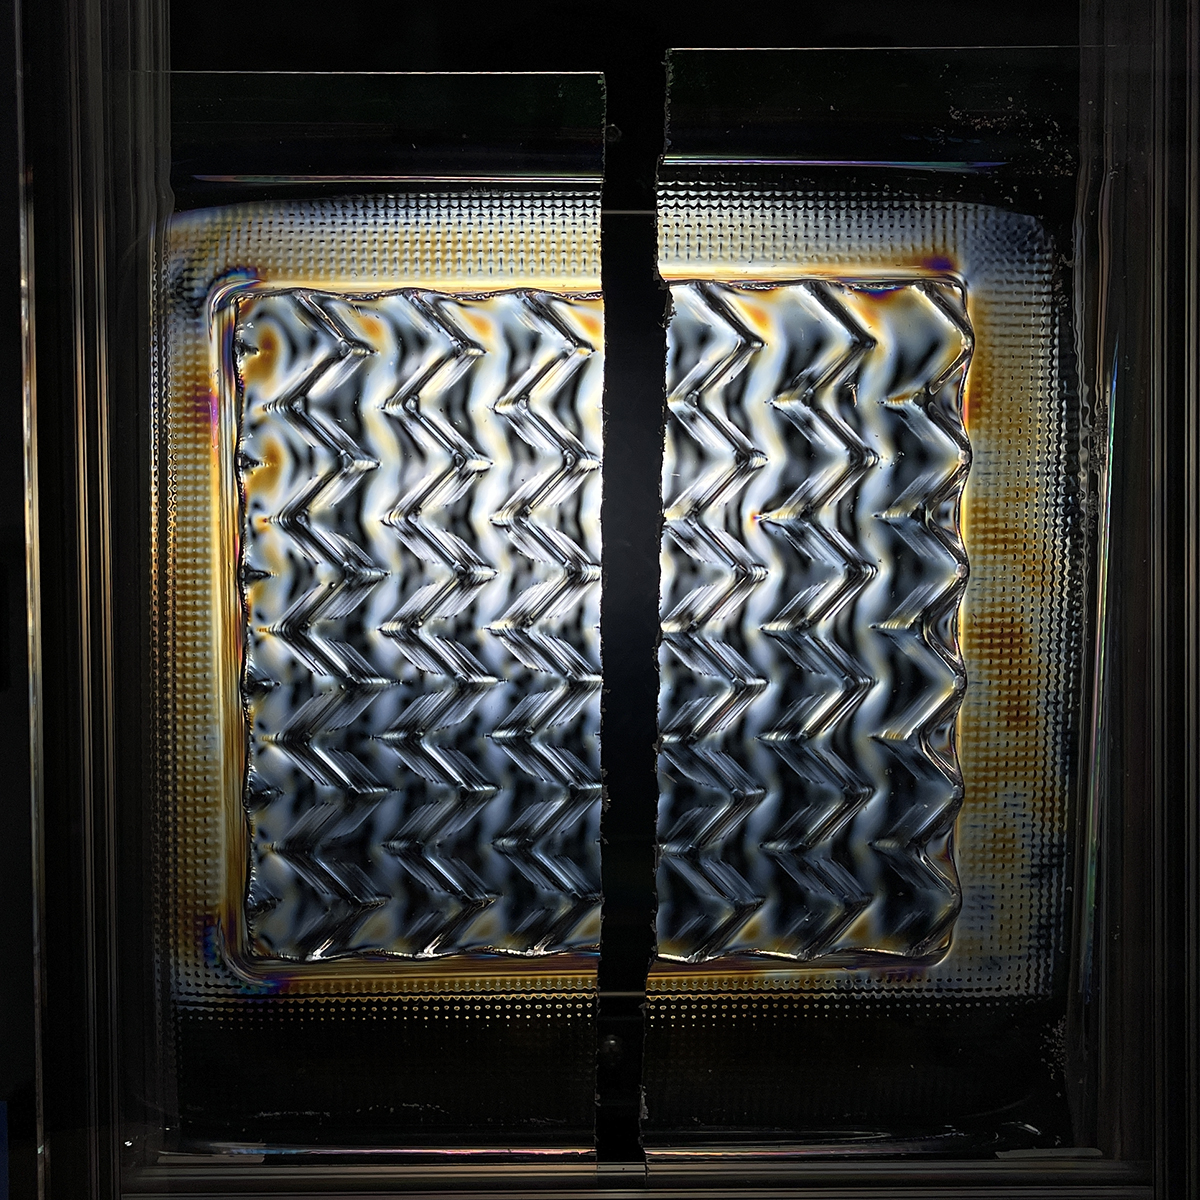
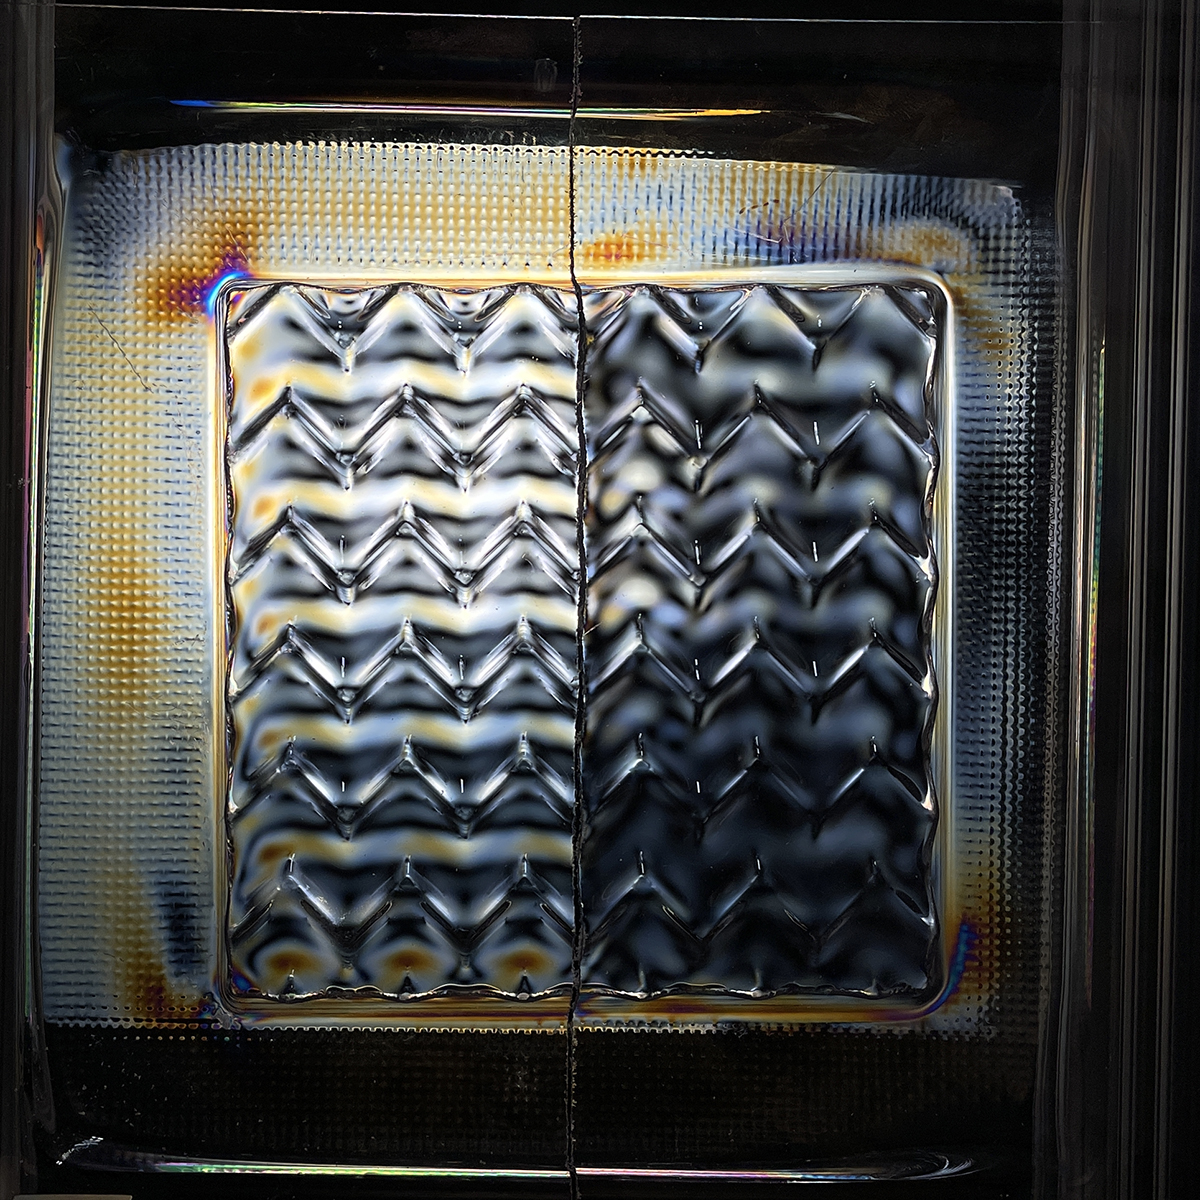
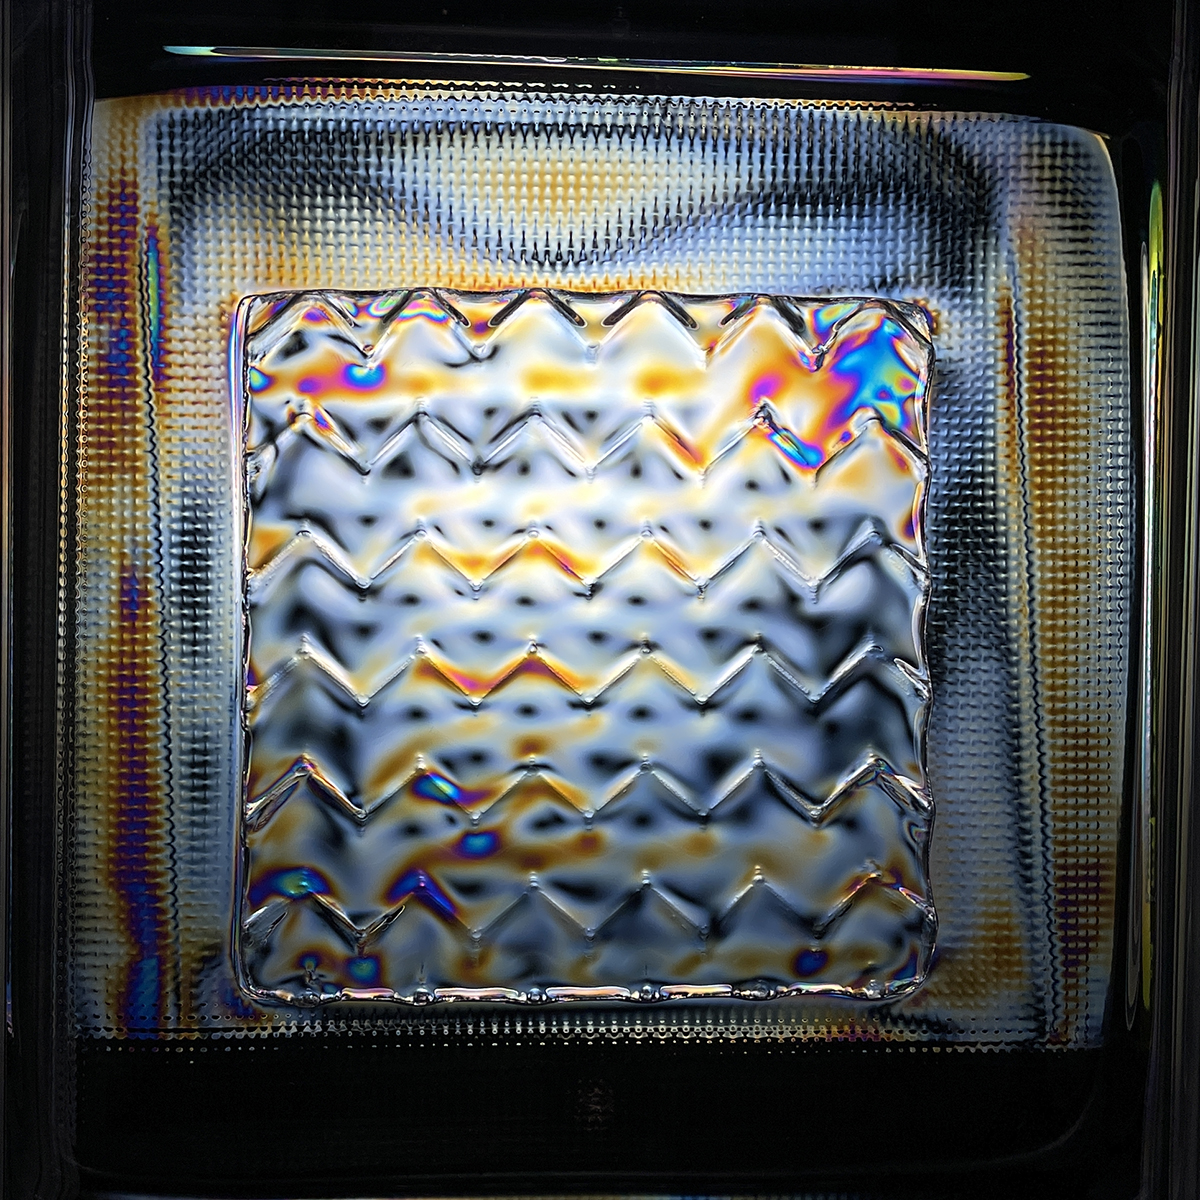
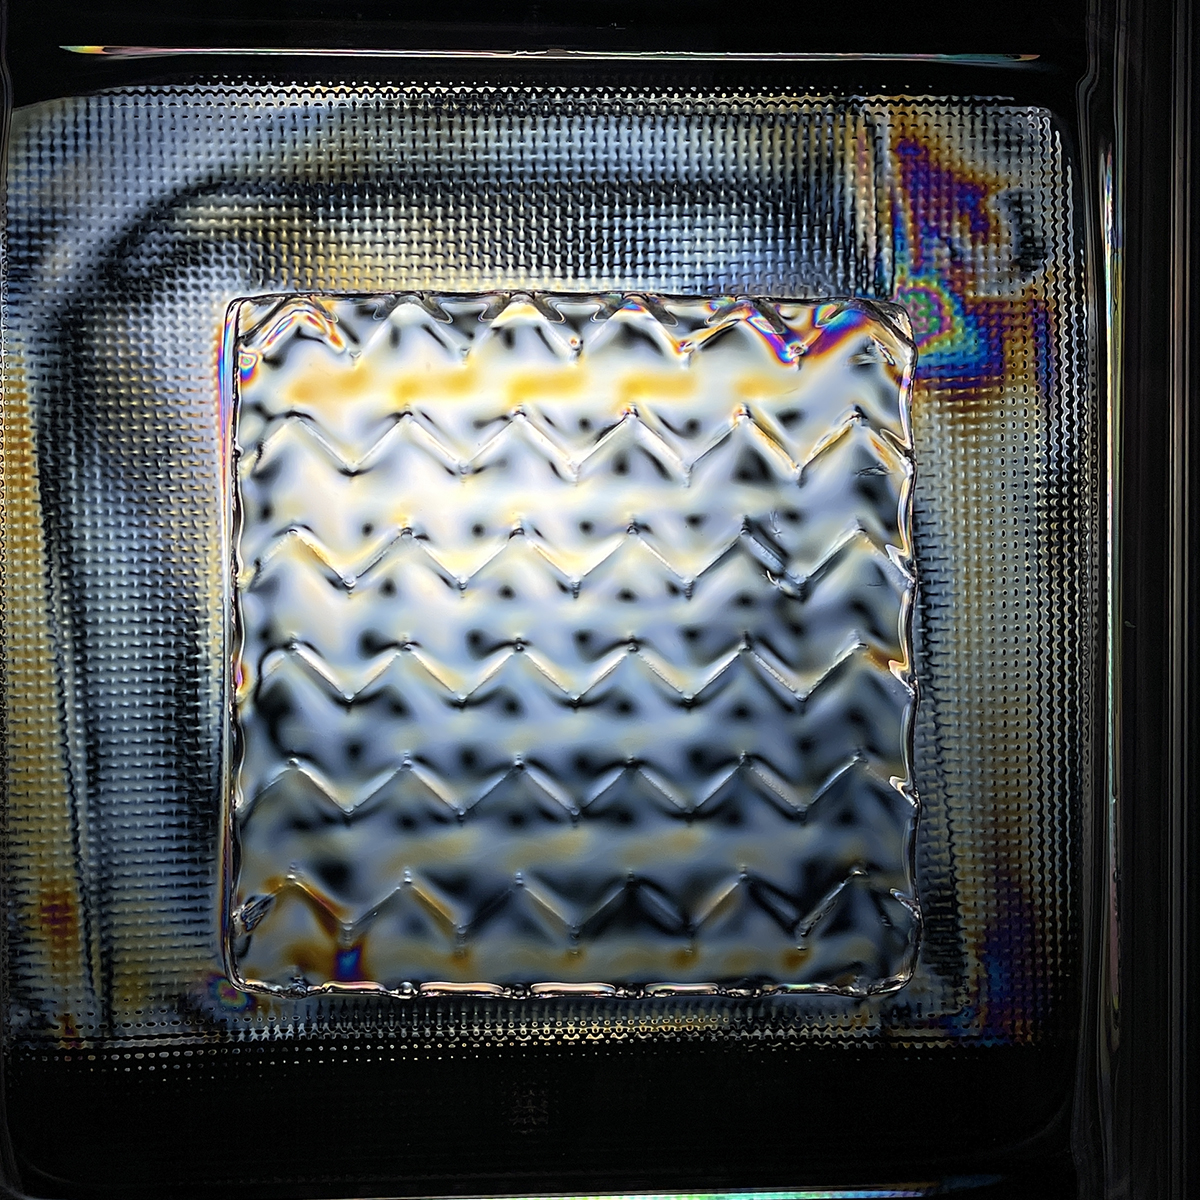
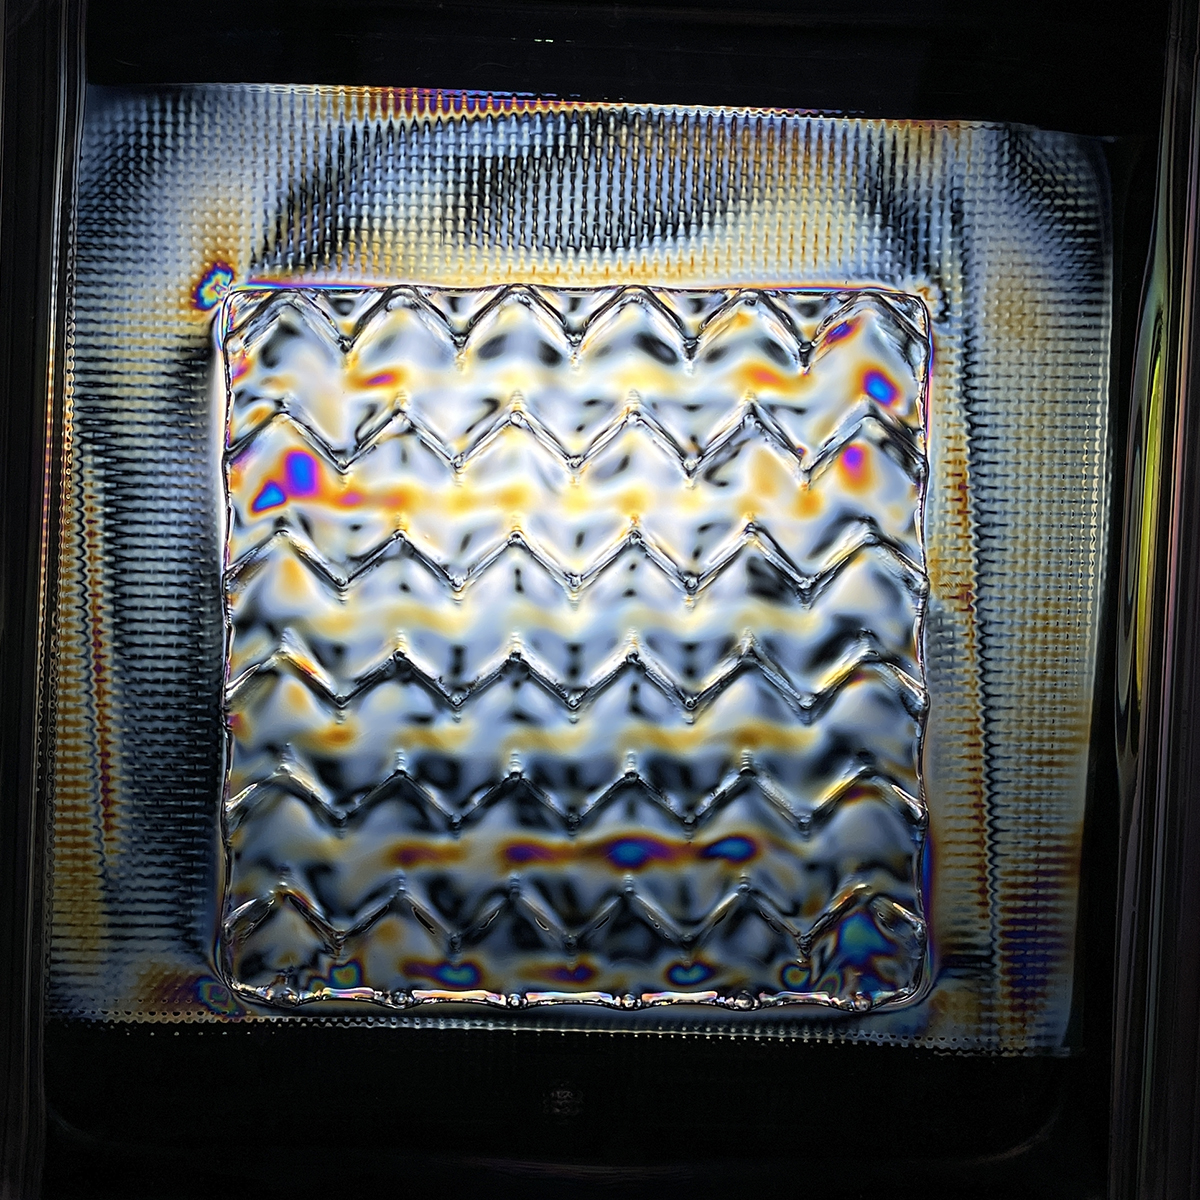
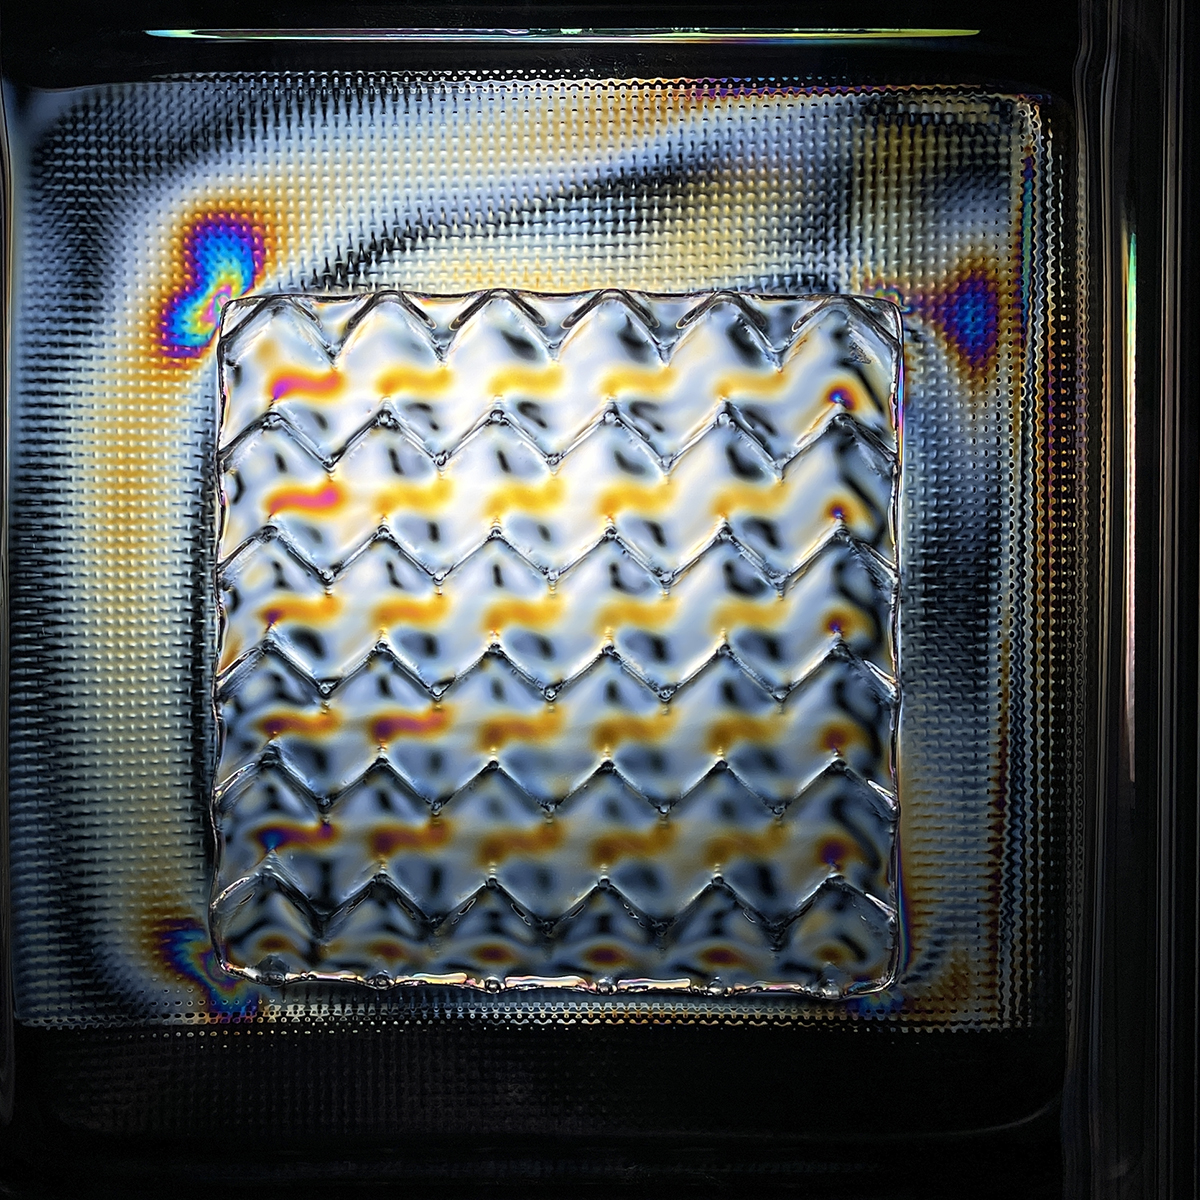
A rainbow of stresses. A custom-built polariscope displays the colorful birefringence effect of thermoformed mechancial metamaterials while a load is being applied. The closer together the bands of color, the more stress a particular location is experiencing.
A brief history for your next cocktail conversation about metrology
How do you know that a minute’s worth of time is really a minute, and not a minute plus a fraction of a second?
How do you know that when two scales report the same number, they’re truly measuring the same weight?
If two people use two rulers and measure the height of the Venus de Milo, but disagree on the result, how do you decide who’s right and who’s wrong?
As offbeat as these questions sound, they all have the same answer: we refer to a pre-agreed upon standard of measure. In the United States, the authority on measurements is actually designated in the U.S. Constitution, Article 1, Section 8, Clause 5 where it says Congress shall have the power “to coin Money, regulate the Value thereof, and of foreign Coin, and fix the Standard of Weights and Measures.”
I’m sure you’re now wondering why would they put that in the Constitution? At the time it was written, there was no direct taxation, so funds to maintain the government were largely coming from imports of flour, sugar, and other commodities, which were levied by the tonnage on vessels as they came into port. The problem was that determination of weight (and the resulting amount of tax) was largely guesswork. Without any standards, different ports were known to give different estimates and it became the subject of extensive lawsuits when reasonable minds disagreed.
Surprisingly (or unsurprisingly depending on your point of view), it took over a hundred years for Congress to legislate standards. Nobody disagreed on its importance, but the hold-outs bristled at the thought of general enforcement. And in case you’re curious to learn more, here’s a great history on the National Bureau of Standards (PDF) published in 1966 by the U.S. Department of Commerce.
(Standardized) money talks
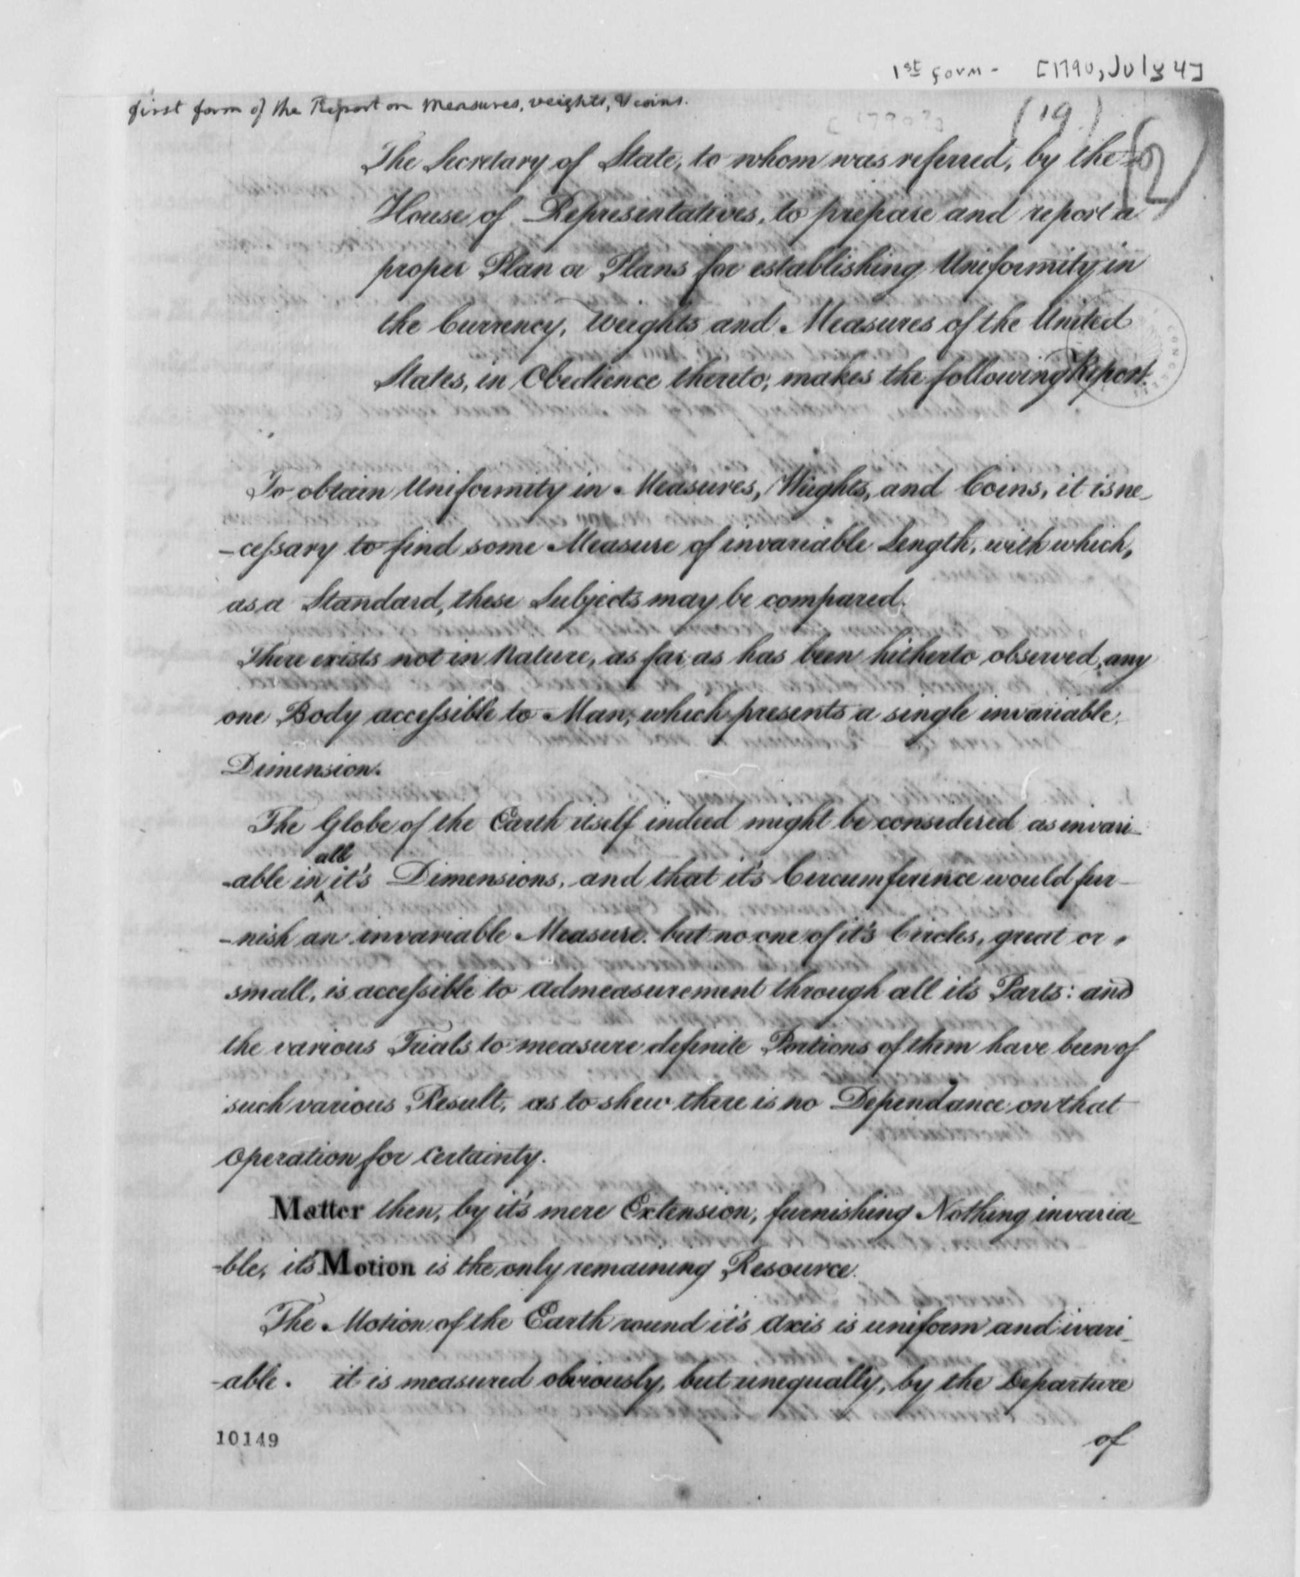
While many will recognize Thomas Jefferson as an author of the Declaration of Independence, he also gets credit for writing the “Plan for Establishing Uniformity in the Coinage, Weights, and Measures of the United States” (July 13, 1790) for the U.S. House of Representatives in response to George Washington’s request to Congress.
Progress languished until 1830 when the Treasury Department was directed by Congress to respond to complaints of unsatisfactory customs collection at the ports. The superintendent of the office, Ferdinand Rudolph Hassler, a Swiss engineer, metrologist, and immigrant, began working on a solution by collecting standards used in various Government departments, customhouses, and foreign sources. His finding that no two customhouses agreed led to the Secretary of the Treasury developing standard weights.
Two years later, a fire destroyed the Treasury’s standard of length and weight, leaving the Nation without an “original unit” to refer to. Congress, recognizing the merit and convenience of the standards, couldn’t bring itself to legalize replacement standards, but could at least approve them through the creation of the Office of Weights and Measure in the Treasury in 1836.
There’s a lot more history, but essentially, this is why in 1901 the National Bureau of Standards, now known as the National Institute of Standards and Technology (NIST), was created as part of the U.S. Department of Commerce. Today, NIST’s official mission is to “promote U.S. innovation and industrial competitiveness by advancing measurement science, standards, and technology in ways that enhance economic security and improve our quality of life.”
Measuring mechanical metamaterials with a polariscope
At Multiscale Systems, we both design mechanical metamaterials and validate that they behave in the way we expect them to, using our purpose-built facilities and testing equipment (PDF). As a result, we’re deeply involved in making all sorts of physical measurements, otherwise known as the science of metrology.
Find your mechanical metamaterial
Check out our interactive Metamaterial Selector Tool where you can select for density, material, strength, and more – to see how our mechanical metamaterials meet your product requirements.
A challenge that presents itself is how to verify properties and performance without destroying a manufactured product. Various methods for non-destructive testing exist, and some of the fastest options involve contact-free optical measurements. With the right set of optical polarizers, a basic digital camera, and some duct tape, it’s possible to directly visualize the embodied stresses of certain types of materials through a birefringence effect known as photoelasticity.
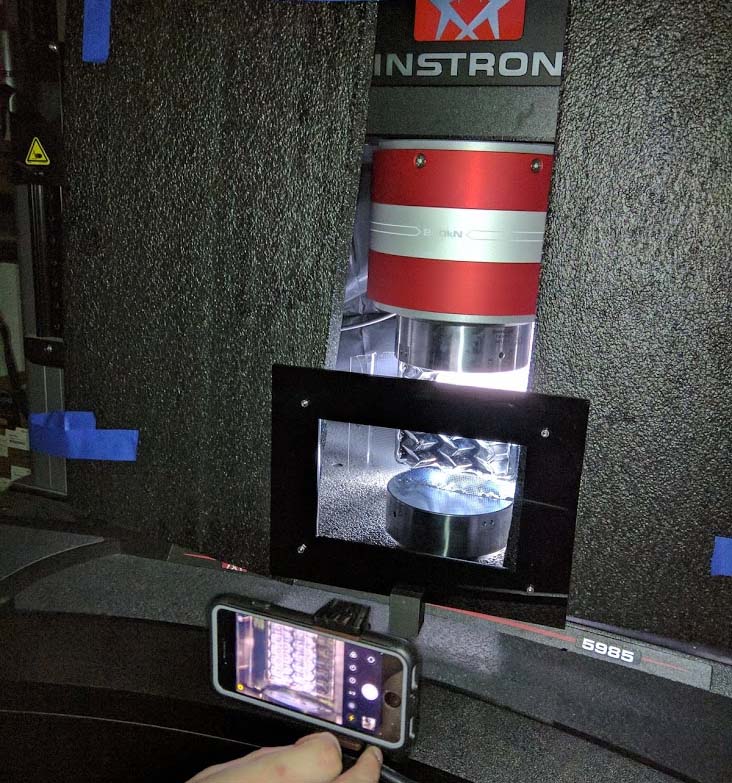
Stress test. Multiscale System’s custom-built polariscope being used with our Instron mechanical tester to understand stresses within our mechanical metamaterials.
The images and movie below show two plastic sheets glued together to form a lap joint, and then pulled apart under tension. The colorful rainbow (that’s the birefringence effect) corresponds to regions of increased stress with the colors becoming more densely packed together where the stresses are the highest.
Ultimately, you can see how the stress distribution changes when the plastic is pulled apart. With the right image analysis software, you can even use the color bands as a measurement of the internal stresses and perform direct comparisons to finite element analysis simulations or even good old pen-and-paper hand calculations.
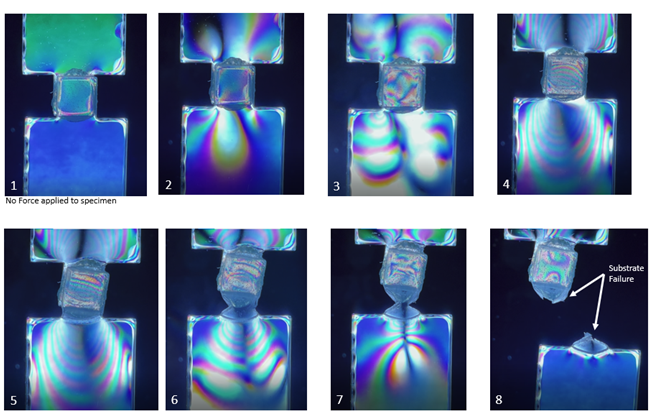
Under tension. The colorful rainbows shown with these pull tabs under the polariscope correspond to regions of increased stress with the colors becoming more densely packed together where the stresses are the highest.
Standardizing our measurement of metamaterials requires: (1) a polariscope, and (2) extensive calibrations between the image data and the mechanical performance. The payoff of this work, however, is tremendous.
With a fully developed system, we can directly monitor the quality of manufactured metamaterials without destructive testing at full-scale production rates. Moreover, since storing vast amounts of image data is relatively inexpensive, we can make as-manufactured quality records for full life cycle accountability. The technology even gives us the necessary tools to reduce energy consumption during manufacture without negatively affecting the product’s performance.
Oh, and most importantly, video showing photoelastic stresses is absolutely beautiful to look at.
The NIST connection
Given NIST’s mission to promote U.S. industrial competitiveness through improved measurement, you can see how the pieces start to line up. At Multiscale, we identified an opportunity where developing a standardized, non-destructive measurement process and tool would allow us to make higher quality products with lower energy consumption. The Small Business Innovate Research contract from NIST directly supports these efforts demonstrating the concept in the context of mechanical metamaterials and is helping pave the way for a revolution in advanced materials technology.
Explore our technology development case studies
National Science Foundation
How our metamaterial research evolved into a targeted commercialization strategy for MetaCORE-LD as an alternative lightweight sandwich panel for semi-trailers.
Department of Defense
Lessons learned from xTechSearch and technology development within the US Army.
NASA
Developing lightweight crash mitigation technology in preparation for the emerging UAMV market.
Department of Energy
A reliable replacement for elastomers used in high-temperature, high-pressure sealing applications.

